Clipper vs Limiter: How to Control Peaks Without Losing Punch
On busy drum parts, I often choose clipping when a limiter makes the whole groove dip. Here I compare hard clipping, soft clipping, and limiting on the same loop, with audio examples and settings so you can hear the trade-offs.
You have a drum pattern that feels as though it could be denser, but a few peaks already reach the ceiling. You raise the level going into a limiter, and the whole bus starts dipping after each kick. The hi-hats get quieter, the groove changes, and the hits seem to lose some of their impact.
In that situation, I often prefer clipping—particularly on busy drums, where something is always happening between the kick and snare.
Clipping and limiting address a similar problem: controlling peaks. They do it differently. A clipper cuts or gradually bends the waveform. A limiter changes gain over time and then lets it recover. That difference affects distortion, the attack of each hit, and the movement of the whole part.
Hard, Soft, and Limiter: what changes?
| Processing | What happens | What to listen for |
|---|---|---|
| Hard Clipper | Values above the ceiling are capped, creating a sharp transition into the flattened peak | Attack definition and click, harshness, crackle |
| Soft Clipper | The waveform bends gradually; processing can noticeably change it before it reaches the ceiling | Density, softened attacks, the amount of saturation |
| Limiter | Gain is reduced around a peak and then recovers at a particular rate | Dips in the whole bus, recovery, distortion on low notes |
These names describe the basic approach. Two limiters, or two soft-clipping curves, can behave differently even when their controls show similar numbers.
In the audio example below, I run the same drum loop through Hard, Soft, and Limiter. Switch between the three versions and listen to the attack, the hi-hats between kicks, and how the level recovers after a strong hit.
Show settings
| Version | Type | Input gain | Mode setting | Lookahead |
|---|---|---|---|---|
| Hard | Hard Clipper | +6 dB | ||
| Soft | Soft Clipper | +6 dB | Soft Curve 5 | |
| Limiter | Limiter | +6 dB | Release 60 ms | 1 ms |
The input gain is added before Gluon; Out Vol stays at 0 dB. After rendering, the three files were matched to the same loudness, so you compare tone, attack, and movement, not level.
Compression and Vintage are off; only the output-processing mode changes. Gluon does not match the level of these modes, so I matched the three files to the same loudness for a fair comparison. The settings below the player document each version.
Why I like hard clipping on drums
For many drum sounds, the highest peak occupies a short section at the beginning. Compression can make the difference between that attack and the rest of the sound more noticeable: some of the onset gets through, and the body is then compressed more heavily.
Restricting that protruding section can reduce the peak level while leaving much of the rest of the sound intact. That is what I like about a hard clipper: it lets me deal with a short peak without a long gain-recovery stage affecting the whole bus.
The waveform does change, though. On a periodic signal, this produces additional harmonics; on complex musical material, the spectral changes can also be clearly audible. On a brief attack, I may hear them as extra brightness and definition. A similar amount of overload on a sustained bass note can sound much more obviously distorted.
A short peak is no guarantee that clipping will be inaudible. The material, the depth of clipping, and the context all matter. Sometimes the extra click helps a sound cut through the mix; sometimes it becomes an unpleasant crack.
I judge the amount of processing by whether the hit still feels convincing. Being able to turn it up further is not enough on its own.
When a softer curve helps
Sometimes I like the character of Hard but want a smoother transition into the flattened peak. That is where a soft clipper helps.
A smoother transition can produce a less abrupt distortion character. Soft clipping can also start changing the waveform earlier, with a more noticeable effect on density or level. Listen to what happens to the attack and to the drums’ place in the mix, rather than judging Soft only by how pleasant it sounds in solo.
In Gluon, I added the Soft Curve control so you can move through several soft-clipping shapes and choose the character you want. It adjusts the Soft mode; Hard is selected separately.
I like having that freedom: I can keep a more defined attack or round the sound off further. Check the loudness again after changing the curve. If one version has become quieter, compare at similar levels before deciding that it has lost its energy.
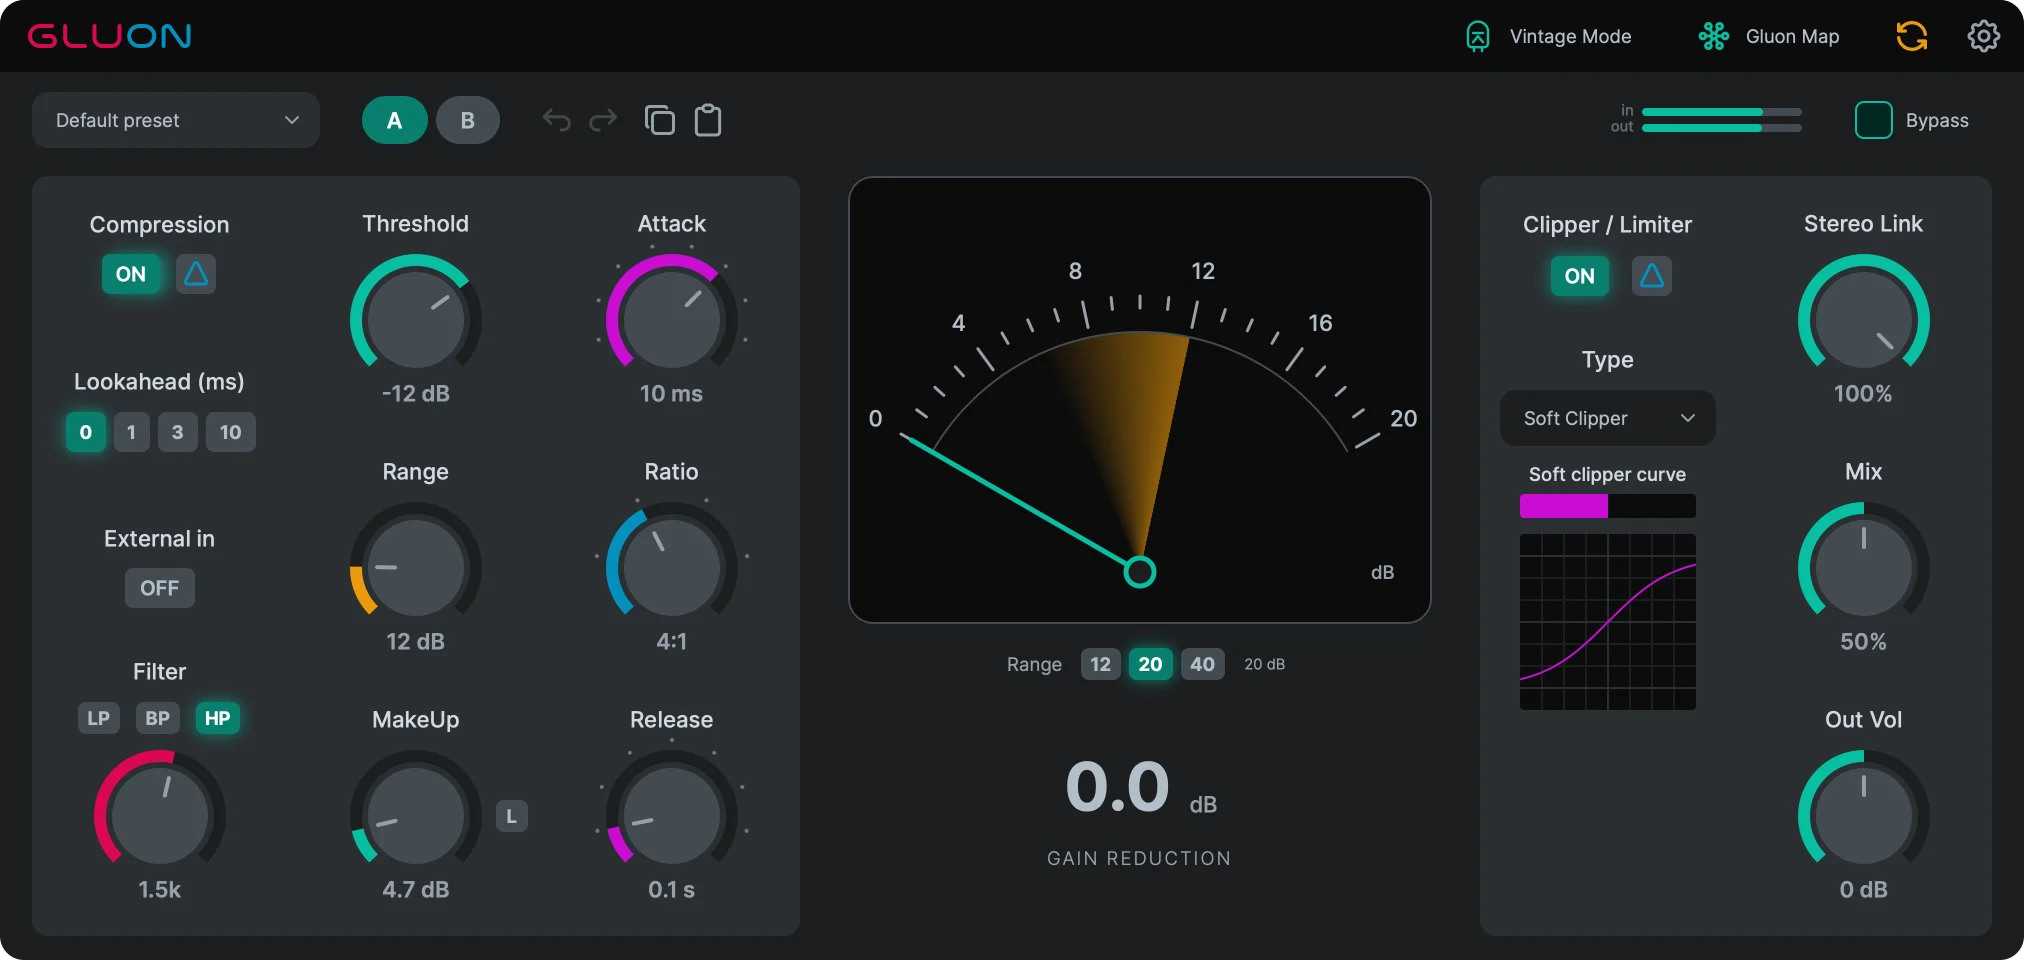
In the animation below, I move Soft Curve through three positions while the input/output transfer graph changes. Watch the transition into the flattened part of the curve and how it changes across the Soft settings.
This is the clipper’s transfer curve. Soft Curve adjusts shapes within Soft mode; Hard is selected separately.
What I dislike about limiting a drum bus
A broadband limiter applies a shared gain change to the signal. If a loud kick is doing most of the work of triggering it, the hi-hats, percussion, and tails playing at the same time are turned down during that gain reduction.
That can be frustrating on a busy club track. The kick hits, the whole group dips, and the level gradually returns. By the time it recovers, more sixteenth notes are already playing. Instead of the density I wanted, I hear unwanted pumping.
A conventional clipper has no equivalent recovery envelope. On short peaks, it often gives me a better sense of movement.
However, the clipper still processes the combined signal. The bass and high-frequency sounds pass through the same nonlinear function. The top end changes too, and heavy clipping can make it dirty or less distinct. You need to hear the benefit on the actual material.
A limiter remains useful when a suitable, smooth gain reduction causes fewer unwanted changes than clipping the waveform. You can also share the work between two processors in series: gently clip individual peaks, then limit the result. That is another option to compare, not a compulsory chain.
How I choose Release
On busy drums, I like a short release. I want the processing to let go quickly instead of leaving a long dip behind every kick.
On a slow, sparse groove, the recovery can become part of the rhythm. A longer release can be expressive there. I listen to what happens after the hit: do the hi-hats and percussion return naturally, or does the whole part start breathing against the movement I intended?
A short release has a trade-off. If the gain changes too quickly, particularly at low frequencies, it can noticeably distort the waveform. You may replace pumping with a rasp or another form of overload. The detector and smoothing stages matter here; a tutorial in the Journal of the Audio Engineering Society examines how compressor designs differ.
Starting with a short release is my way of finding a setting, but I do not suggest automatically choosing the minimum. If the low end starts to rasp, try a longer release or less limiting, then compare again.
The following example isolates limiter Release: the same drum pattern is processed with short, medium, and long recovery times. Listen to the gaps after each kick and check whether a setting introduces unwanted breathing or roughness in the low end.
Show settings
- Type: Limiter, Lookahead: 1 ms
- Input gain: +6.6 dB before Gluon, so the hits go further into limiting; Out Vol: 0 dB
- Compression: off, Vintage Mode: off
The three files keep their real level differences: the same gain reduction is applied to all of them for headroom.
Input gain, lookahead, and the other processing settings stay fixed. The player labels give the actual Release times used.
How to compare the three modes
To compare only Gluon’s output processing, use these settings:
- Compression: Off.
- Vintage Mode: Off.
- Clipper / Limiter: On.
Vintage is not part of this test. Keeping both it and compression off lets you hear the differences between Hard, Soft, and Limiter without their additional influence.
Raise the input level with a gain control before Gluon in your DAW. Leave Out Vol at zero and use the same oversampling quality for all three versions.
First, compare the three modes while aiming for the same peak-control goal. Record the settings and the actual output level. Then, in a separate comparison, bring the versions to a similar perceived loudness and listen to their tone, impact, and movement.
These are two different comparisons. The same maximum peak does not mean the same loudness. Once you match loudness, the peaks may differ. Both comparisons help you understand why you prefer one result.
MakeUp Learn does not handle the whole task here. In Gluon, it measures the result of compression and Mix before the independent output section. After clipping or limiting, check the final level separately.
Gluon 1.2 includes a separate Output Delta monitor, which lets you hear the difference made by the output processing. It can help reveal the character of the changes. But an audible difference is not automatically damage: useful saturation is also present in Delta.
Oversampling and the output ceiling
Nonlinear processing can produce digital artifacts called aliasing. Oversampling helps reduce them by running the internal processing at a higher sample rate, at the cost of additional resources. It does not remove the coloration you are deliberately adding with clipping. The aliasing problem and the role of oversampling are explained in this DAFx paper on nonlinear waveshaping.
Check true peaks separately as well. Capping the sample values does not guarantee the same ceiling for the waveform reconstructed between them. This distinction is defined in Annex 2 of ITU-R BS.1770.
In Gluon, Hard and Limiter cap sample peaks at approximately −0.23 dBFS before Out Vol. This is not a true-peak guarantee, and positive gain from Out Vol can raise the result above that ceiling again.
Listen in context
For me, successful peak control keeps the impact I want and makes the part easier to work with in the rest of the mix. If it is louder but the hi-hats dip, the bass rasps, or the snare loses its character, I revisit the amount of processing.
If the drums still feel disconnected after controlling the peaks, my drum bus compression walkthrough shows how I work on their shared movement.
Hard, Soft, and Limiter are all available in Gluon’s output section. Compare them on your own loop and choose the character that suits the part.
Start with a small amount of processing. Then deliberately push each mode until the result is clearly wrong for your goal, and back it off. That makes it easier to hear where useful density ends and excessive distortion begins on your material.
© 2026 Ilia “nClear” Tsvetkov. When republishing material from this article, credit Ilia (nClear) and include an active link to the original article.